How to Protect Your Shower After Restoration: Steps to Keep Clean Grout in Shower
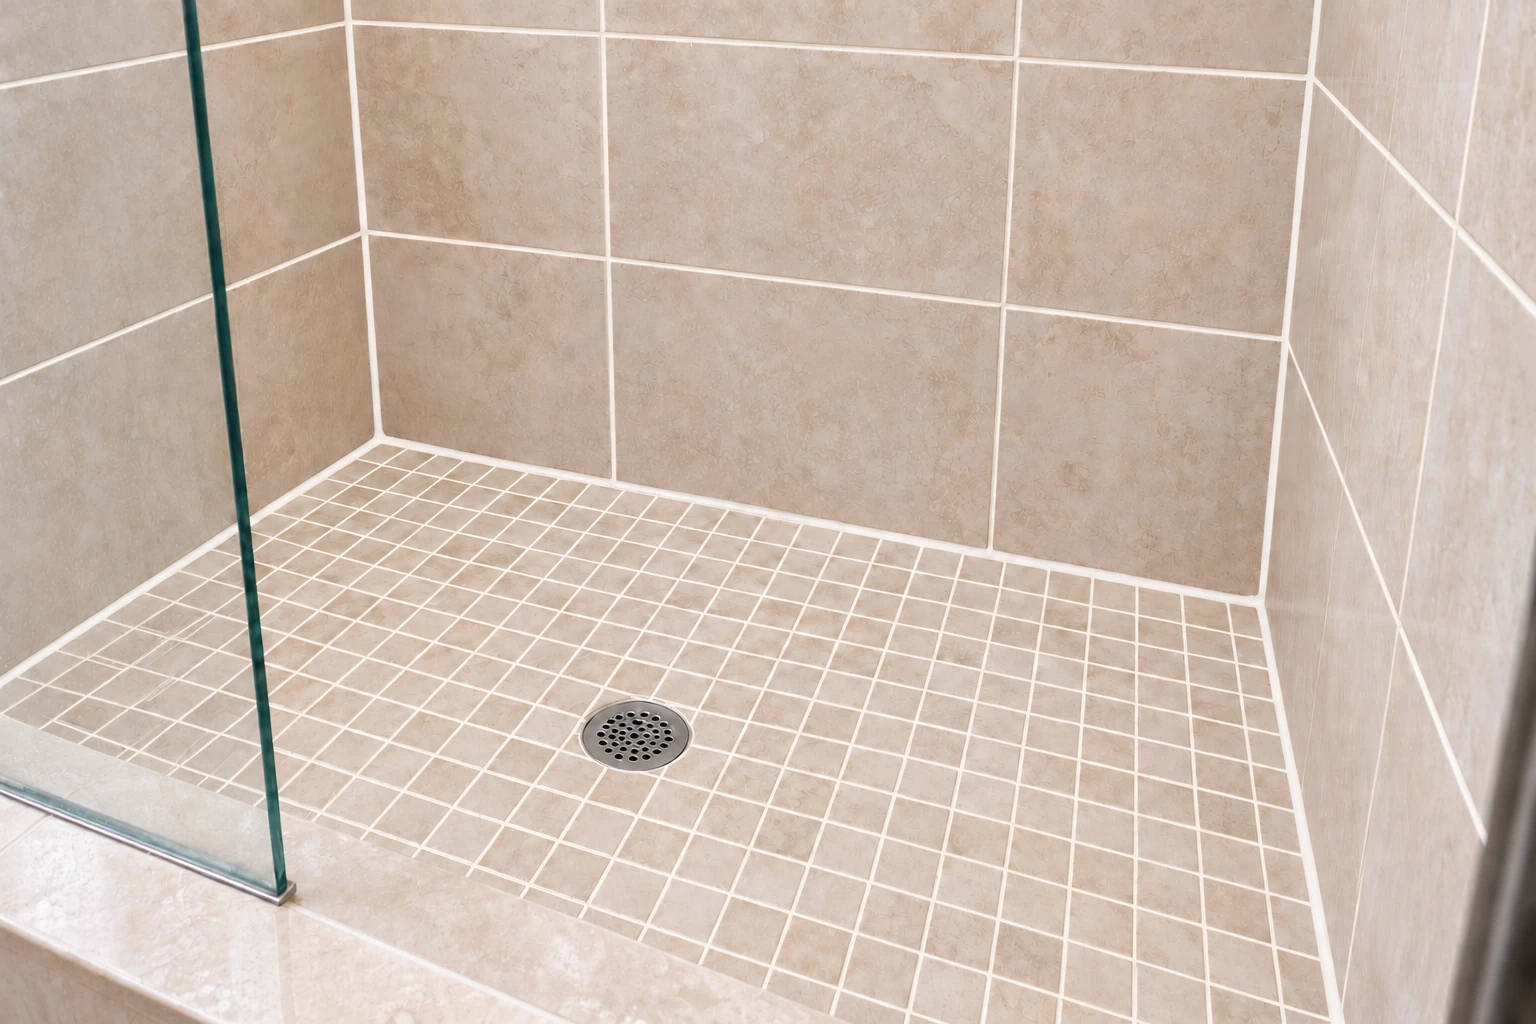
After restoring your shower, the real work of maintaining clean grout and a beautiful, trouble-free bathroom truly begins. Proper aftercare is essential not only to protect your investment but also to prevent issues such as staining, mould, cracked grout, and water damage. This guide walks you step by step through the best practices, techniques, and professional insights from Team Grout , Toronto and the GTA’s trusted tile and grout experts.
Definition: Shower Restoration and Grout Protection
Shower restoration refers to a thorough cleaning, repair, and sealing process that revives tiles and grout to a like-new condition, removes stains, and addresses failing caulking. Protecting a restored shower means adopting daily routines and regular inspections to keep grout bright, tiles sealed, and caulking intact for long-term performance and hygiene.
Why Shower Aftercare Matters
Grout is naturally porous, meaning it absorbs moisture and soap residue easily, making it a prime target for staining and mould growth. Even after sealing, regular exposure to water and cleaning products can break down that protection. Likewise, caulking failures around tiles or flooring allow water to seep into walls and subfloors, creating expensive damage and hidden mould problems. Prevent these issues upfront by sticking to proven maintenance strategies.
Step-by-Step: Critical Aftercare for Restored Showers
1. Observe Curing Times
Do not use your restored shower until the products and materials have fully cured. Usually, 24 to 48 hours is required , your Team Grout technician will provide exact guidance for your project. Using the shower too soon can compromise sealer, new grout, or fresh caulking, risking early failure.
2. Inspect Grout and Caulking Thoroughly
- Check all corners, edges, and transitions for uniformity.
- Look for missed spots, gaps, cracks, or signs of crumbling grout.
- Run your finger gently along the caulk line, it should be smooth and continuous, securely adhering to both surfaces.
- If you notice imperfections shortly after service, contact Team Grout for a prompt professional assessment rather than applying over-the-counter products yourself.
3. Prevent Excess Moisture
- Always squeegee tile walls and glass doors after each use to remove standing water.
- Leave the shower door or curtain open post-use to aid evaporation.
- Run the bathroom exhaust fan during and for 20 to 30 minutes after showering to reduce lingering humidity.
- Consider a dehumidifier in bathrooms with poor airflow to further lower moisture.
4. Store Bottles and Wipe Surfaces
- Keep bottles and soaps on a shower caddy or elevated rack to prevent pooling beneath, they cause stubborn stains in grout lines.
- Remove hair and soap residue from drains regularly to avoid water backup.
5. Weekly Safe Cleaning Routine
- Remove all items and loose debris from the shower.
- Rinse tile and grout with clean water.
- Apply a pH-neutral tile and grout cleaner (as recommended by Team Grout).
- Allow cleaner to dwell per instructions, then gently agitate with a soft nylon brush.
- Rinse thoroughly and dry surfaces with a microfiber cloth or by running your exhaust fan.
Essential Tools and Products for Maintenance
- Soft squeegee for daily water removal
- pH-neutral tile and grout cleaner
- Microfibre cloths for gentle drying
- Nylon grout brush for weekly scrubbing
- Appropriate repair caulk (ask your restoration technician for details)
What to Avoid: Prevent Grout and Tile Damage
Some products and tools can quickly compromise your shower restoration results, especially if your grout was newly sealed or re-coloured:
- Wire brushes or abrasive pads (these scratch protective coatings and loosen grout)
- Powdered abrasives or harsh acidic cleaners
- Repeated use of undiluted bleach, as it degrades sealers
- Mixing bleach with any other cleaners (always dangerous)
- Any scouring tools not approved by your technician
- Direct steam cleaning on recent restoration work
How Often Should You Clean Your Shower?
| Task | Recommended Frequency |
|---|---|
| Squeegee tile and glass | After every use |
| Exhaust fan ventilation | During and 20, 30 minutes after showering |
| Gentle grout cleaning | Weekly |
| Inspect grout and caulking | Every 2, 4 weeks |
| Assess water repellency | 6, 12 months |
| Professional assessment | When persistent staining or dampness appears |
Showers with heavy use, hard water, or limited ventilation may need increased attention.
Checking If Grout Needs Resealing
An at-home water bead test is simple: Place a few drops of water on a dry grout line. If water beads up, sealant is likely still active. If grout absorbs the water and darkens, you may need professional resealing. Never apply sealer or paint over dirty, damp, or crumbly grout , this traps issues and leads to bigger repairs later.
Monthly Caulking Inspections for Lasting Results
- Look for cracks, openings, shrinking, peeling, or soft spots around corners and transitions
- Check for recurring black stains, especially where tile meets tub or floor
- Prompt repair prevents water from reaching subfloor and wall cavities
- Always remove old caulk before applying new caulk, ensuring a clean, dry base for proper adhesion
Professional Solutions: Why Team Grout Remains the Industry Leader
While diligent homeowner care keeps your shower in top shape, some issues require specialized intervention. Team Grout offers a comprehensive Full Grout Resto process across Toronto and the GTA, restoring even the most neglected showers without any demolition or mess. Our certified technicians excel at deep cleaning, repairing cracks and holes, colour sealing in 40+ shades, and re-caulking junctions for enduring waterproofing and shine.
If you notice rapid return of dark staining, crumbling grout, stubborn odours, or if caulking separates repeatedly, professional expertise is critical. We’ve seen first-hand how missing or poorly finished caulking around tiles or floors almost always leads to long-term moisture damage and costly repairs. Taking shortcuts or ignoring these signs can quickly undo all your hard work.
5-Minute Daily Protection Checklist
- Squeegee walls, floor, and glass immediately after showering.
- Wipe corners and ledges dry, including under bottles.
- Keep shower enclosure open for air flow and quick drying.
- Use your exhaust fan consistently during and after use.
- Take a quick monthly tour of all grout lines and caulk seams for cracks, stains, or softness.
These simple daily habits make a dramatic difference in the durability of your restoration results.
Best Practices from Team Grout
- Follow your technician’s instructions for product curing and initial care. Never rush back to use the shower before recommended timeframes.
- Inspect tile, grout, and caulking regularly. Early detection is the best way to avoid costly repairs.
- Never apply sealer or caulk over dirty, loose, or failing material. Preparation is everything in waterproofing.
- Use products and tools designed for tile and grout maintenance , avoid harsh chemicals unless specified by a professional.
- If in doubt, request a free assessment from Team Grout to identify the most effective solutions for your space.
- Recognize that getting the tile, floor, and especially caulking done right from the outset is critical. Skipping professional restoration often leads to hidden moisture and bigger problems down the road.
Internal Resources for Responsible Maintenance
- Learn more about how to keep your tiles clean with eco-friendly methods
- Explore choosing the right grout sealer for lasting results
Frequently Asked Questions
How soon after shower restoration can I use my shower?
Most professional products require 24 to 48 hours of curing before the first use. Your technician will confirm the exact timeframe. Never rush this step.
What is the safest way to clean my restored grout?
Use a pH-neutral tile and grout cleaner once a week and always rinse thoroughly. Avoid abrasive tools and harsh chemicals on new or colour-sealed grout.
How can I tell if my grout needs to be resealed?
If water beads on grout, the sealant is working. If water absorbs quickly and darkens the grout, it’s time for professional assessment and likely resealing.
Why is the condition of caulking so important for shower longevity?
Failing caulking lets water into spaces behind tiles and floors, leading to mould, hidden rot, and expensive tile failures. Meticulous caulking is as vital as pristine grout work.
How often should grout and caulking be professionally inspected?
Team Grout recommends every 6 to 12 months, or immediately if you notice soft, cracked, or separating material, or recurring stains.
When should I call a professional instead of attempting a DIY fix?
Call professionals if grout is crumbling, cracks widen, stains return rapidly, or caulk keeps separating. Also, if daily cleaning does not restore appearance, trapped moisture may be an issue.
Conclusion
Protecting your shower after restoration is a skill that rewards you with lasting beauty, hygiene, and freedom from costly repairs. A discipline of gentle daily care, regular inspection, and prompt professional intervention, inspired by the standards at Team Grout ensures that tiles, floors, and caulking truly stand the test of time. If you want confidence in your restoration results or think your grout, tile, or caulk may need attention, reach out for a no-cost, expert quote from Team Grout. Our technicians are ready to help you safeguard your investment and keep your shower, and your entire bathroom looking immaculate for years to come.